-

-
John Arey
- Home
- All Projects
- About Me
- Just for Fun
- Contact
- Resume
At PSI, I collaborated with manufacturing and quality engineers to develop custom tooling and fixtures to streamline processes on the factory floor. I also conducted casting quality checks, identified expired and incoming gages using company software, and developed Python programs to streamline the import process of calibrated gage certifications into the company database.
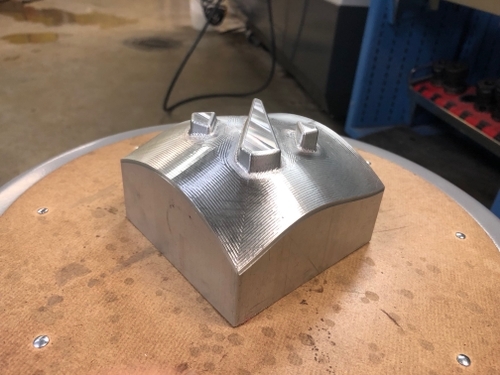
The toolpath used as many types of milling as was reasonable to use on the part, including cavity, floor, and contour milling to create a the desired look. Finishing operations were created but limited in scope to reduce cycle time, affecting the final surface finish.
The toolpath used as many types of milling as was reasonable to use on the part, including cavity, floor, and contour milling to create a the desired look. Finishing operations were created but limited in scope to reduce cycle time, affecting the final surface finish.
The toolpath used as many types of milling as was reasonable to use on the part, including cavity, floor, and contour milling to create a the desired look. Finishing operations were created but limited in scope to reduce cycle time, affecting the final surface finish.
The toolpath used as many types of milling as was reasonable to use on the part, including cavity, floor, and contour milling to create a the desired look. Finishing operations were created but limited in scope to reduce cycle time, affecting the final surface finish.
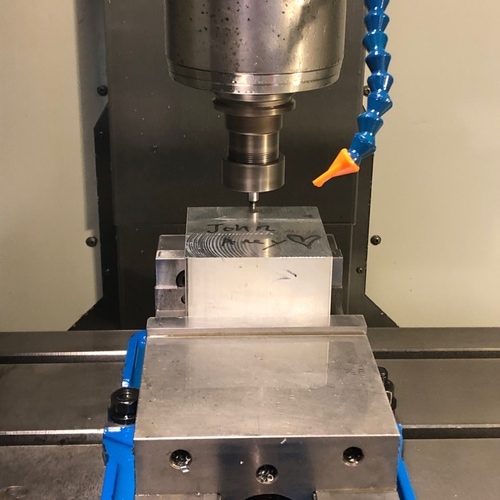
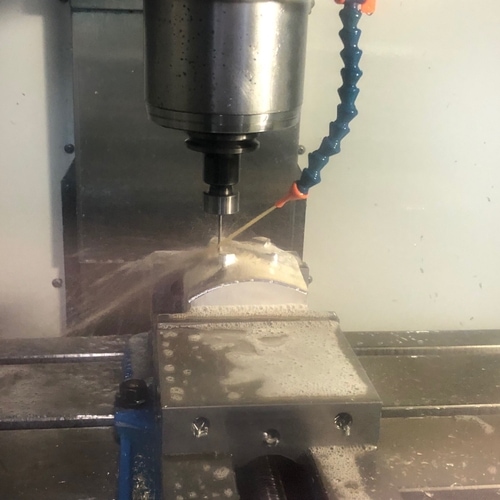
Setup and machining was completed in a Haas Mini Mill, with the appropriate tooling loaded in and part zero planes measured. The entire process lasted about 2 hours, with changes in feed rate postCAM being made during operation to reduce vibrations in the part.

The stock was clamped in the vice with 1’’ parallels for maximum clamping area while still allowing the part to be cut without any crashing occurring.

Machine time was about an hour and a half, with feeds and speed overridden to 200%, as conservative numbers were set during toolpath setup.

The part turned out well, though a smoother finish given more time would have improved its look. The part was meant to mate with an inverse model (done by another student), but differences in toolpaths and poor tolerances meant the two did not line up as intended.